How Long Does It Take to Complete a Designer Interior Project?

How Long Does It Take to Complete a Designer Interior Project?

Embarking on a designer interior project is an exciting journey for any homeowner. However, one of the most common questions is how long such a project typically takes. Understanding the timeline can help set realistic expectations and ensure a smooth process.
Understanding the Initial Consultation Phase

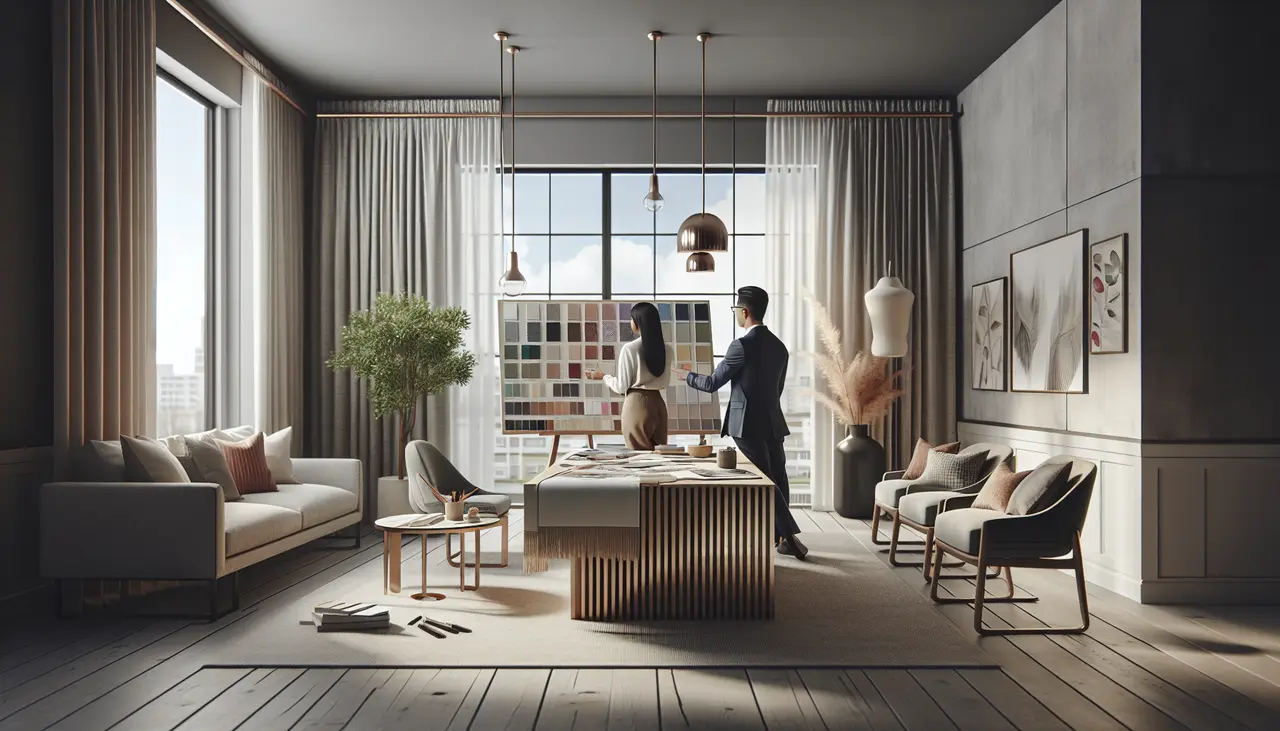
The first step in a designer interior project is the initial consultation. This phase typically involves meeting with your chosen interior designer to discuss your ideas, budget, and expectations. Depending on availability, this stage may take a week or two.

During these initial meetings, you and your designer will explore the vision for your space. It’s a time to align on the project’s scope and goals, ensuring both parties are on the same page. This phase is crucial in creating a solid foundation for the rest of the project.

In some cases, clients may have very clear ideas, while others may rely more heavily on the designer’s expertise to shape the vision. Regardless, your designer should take the time to understand your preferences, functional needs, and any specific requests you may have.
Design and Planning: The Heart of the Project

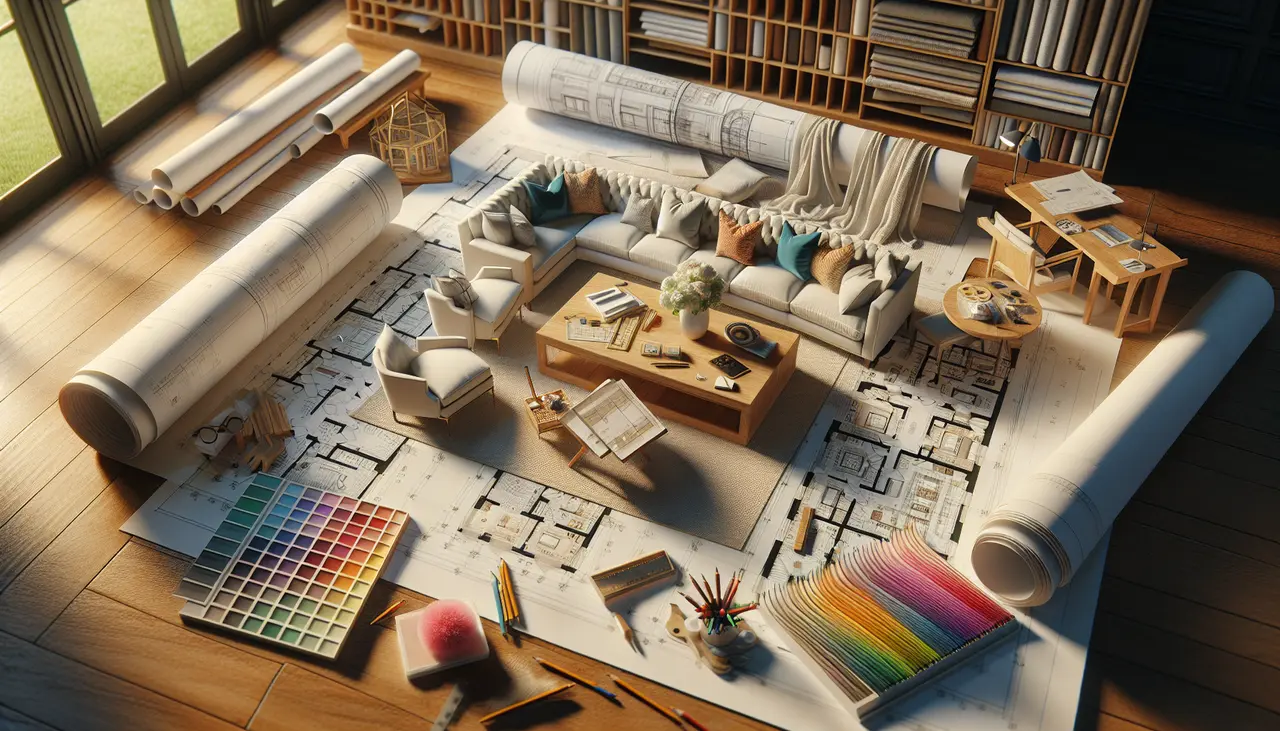
Once the consultation is complete, the design and planning phase begins. This involves creating mood boards, selecting materials, and drafting detailed design plans. This phase can take anywhere from 2 to 6 weeks, depending on the complexity of the project.

At this stage, designers often create several concept designs to present to clients, ensuring that every detail aligns with their vision. The process can be iterative, requiring adjustments and refinements before reaching the final design.

An essential part of this phase is deciding on a color palette. The choice of colors will set the tone for the entire space, impacting its mood and functionality.

Effective communication between the designer and client is key. Regular updates and discussions help to accommodate any changing preferences or new ideas that may arise. The collaborative nature of this phase ensures that the end product is both beautiful and practical.
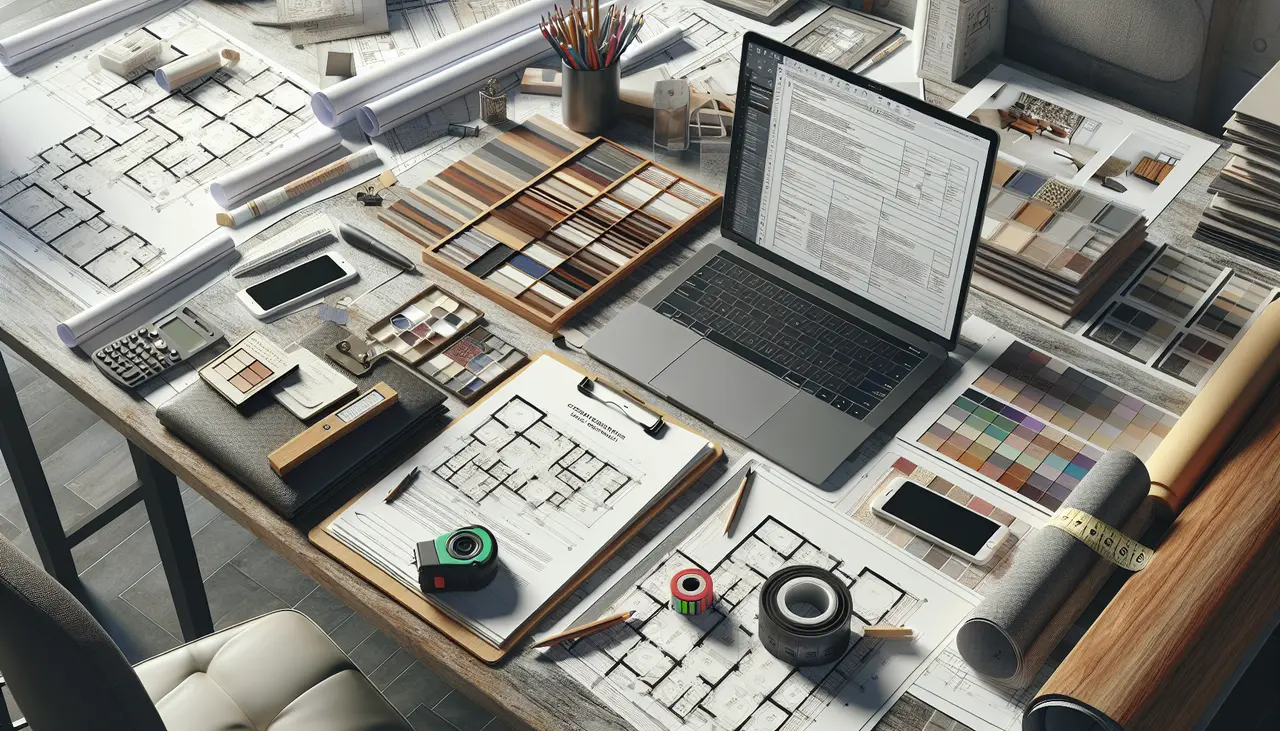
 

Securing Permits and Ordering Materials

Before any physical work begins, necessary permits must be obtained, and materials need to be ordered. The time required for permits varies by location, but it could take several weeks. Ordering materials can also range from a few days to a few weeks, depending on the availability.

The availability of materials can often dictate the pace of the project. Items such as custom furniture or unique fixtures may have longer lead times. Therefore, early ordering becomes crucial to prevent any project delays.

Designers work closely with vendors and suppliers to streamline the procurement process. At Rachel Blindauer Interior Design, robust networks with suppliers help mitigate risks associated with delayed materials.

Securing permits can sometimes pose challenges if structural changes are involved. Rachel Blindauer typically works directly with a local architect and ensures that everything proceeds according to plan.
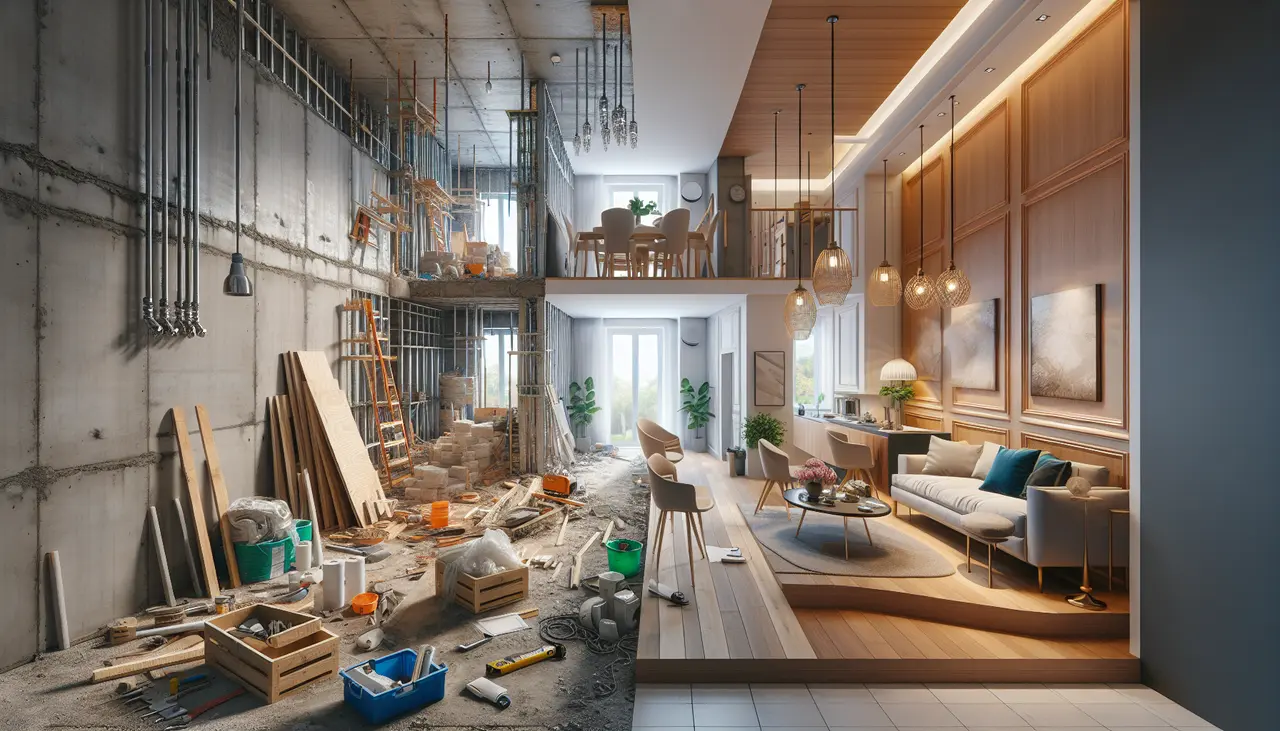
The Construction and Implementation Phase

The hands-on part of the project is construction and implementation. This is where the design comes to life. Depending on the project’s scope, this phase can last from several weeks to several months.

This phase involves detailed coordination among contractors, and designers. A clear timeline and regular site visits are crucial to ensure that everything proceeds as planned. Any unforeseen issues, like delayed deliveries or construction challenges, can extend timelines.

Complex projects that include custom-built elements or significant structural modifications may naturally require a longer timeframe. However, thorough planning and efficient project management can minimize potential delays, making the completion process smoother and more predictable.

For large-scale projects or renovations, patience is key. Each detail, from paint colors to light fixtures, contributes to the overall vision. Designers aim to oversee the process closely, ensuring that the implementation matches the agreed-upon design.
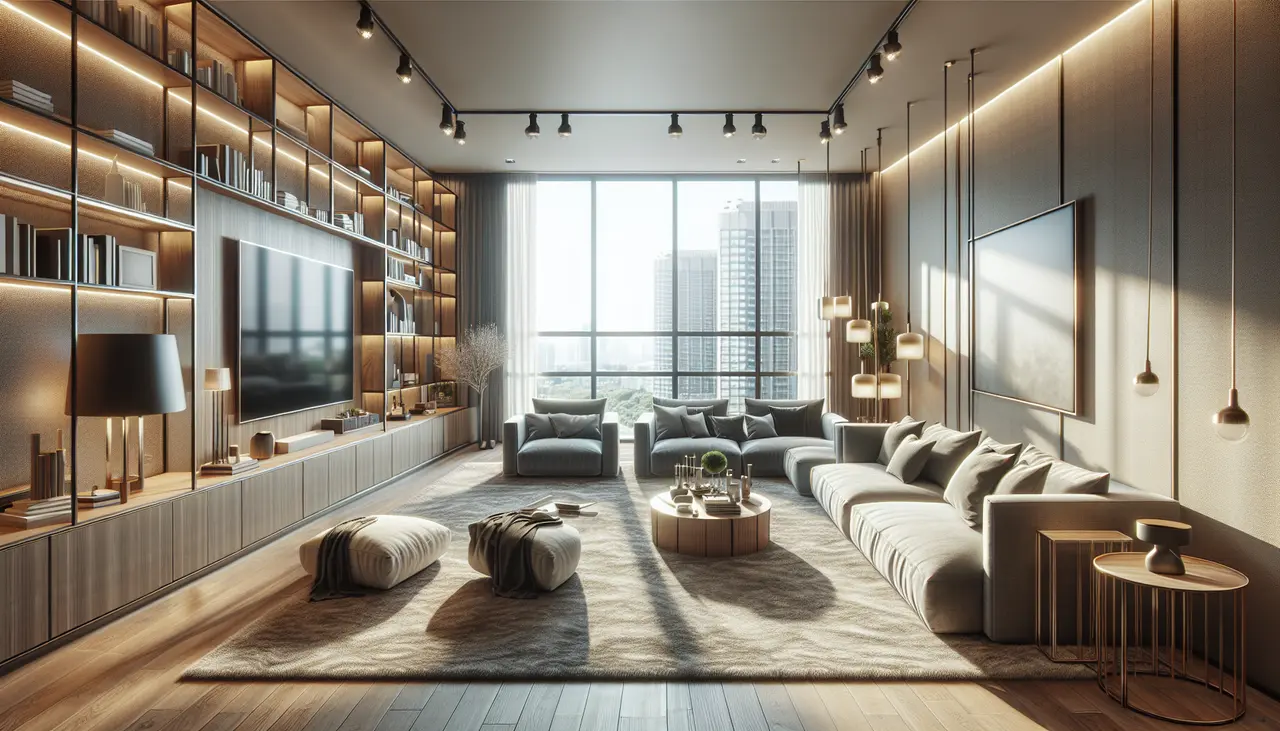
Final Touches and Project Handover

After construction is completed, the final touches are applied. This includes adding furniture, decor, and other elements that were part of the design plan. Usually, this stage takes a couple of weeks. Once everything is perfect, the project is handed over to the homeowner.

These final stages are where the personality of the space really shines through. Decor elements, such as art pieces, rugs, and decorative lighting, are implemented to add depth and warmth.

Your designer will often provide an opportunity for a walk-through, ensuring all aspects have been executed perfectly. Any minor deficiencies are addressed before concluding the project, ensuring the client’s satisfaction.

This culmination of hard work results in a space tailored to the homeowner’s preferences and needs. The transformation is usually accompanied by a sense of fulfillment and excitement, marking the transition from project to living space ready to be enjoyed.
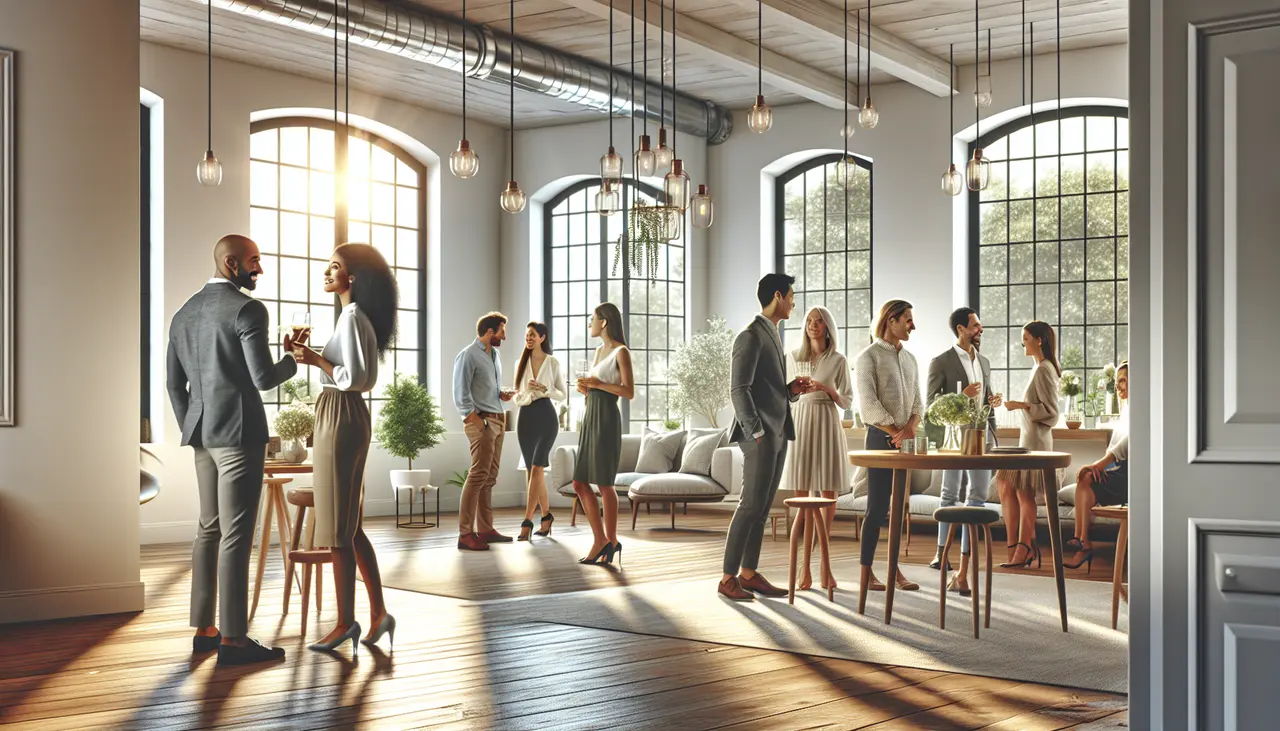
Entertaining Party Celebration

House Warming Party!

The timeline for completing a designer interior project can vary based on several factors, including planning, design, complexity, and project management but after the accessories layer and photoshoot we typically have a house warming party. By understanding these aspects, you’ll be better prepared to manage your time and expectations, ensuring a successful outcome.

Shop the Look

Villefranche Square Marble Table Lamp, Black

Villefranche Square Marble Table Lamp, Black
$333

Siena Marble Urn Vase

Siena Marble Urn Vase
$1,695

18" Nox Marble Side Table

18" Nox Marble Side Table
$1,665
2 Hour Interior Design Virtual or In Person Consultation

SOMETHING FOR EVERYONE

THE PIECES RACHEL RETURNS TO, AGAIN AND AGAIN
Maximizing Small Spaces: Tips for Creating the Illusion of Space

Maximizing Small Spaces: Tips for Creating the Illusion of Space

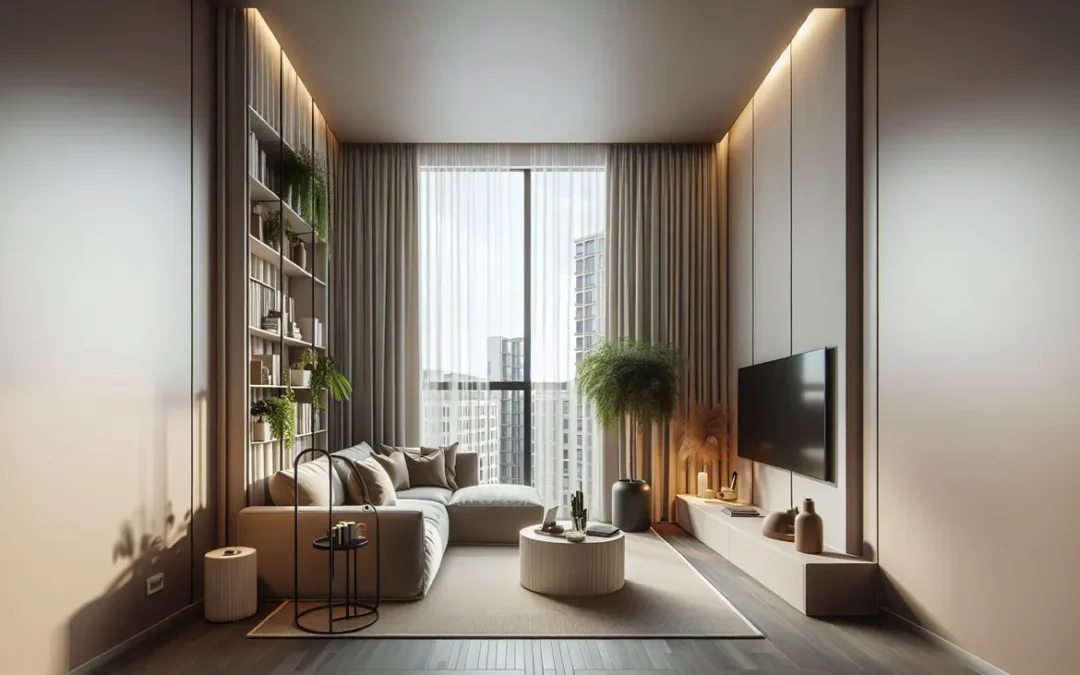
Unlock the secrets to making small rooms appear larger through clever design techniques and strategic furniture placement. and maximize small spaces and creating the illusion of a larger, more open area. With clever design techniques and strategic furniture placement, you can transform your compact living spaces into stylish and functional havens. Say goodbye to cluttered rooms and embrace the art of making the most out of limited space to unlock its full potential!

Minimal Interior Design

Choose Light Colors

When it comes to maximizing small spaces, color plays a crucial role. Opt for light and neutral colors for your walls, floor, and furniture. Lighter shades reflect natural light, making the room feel more open and airy. Stick to a consistent color palette to create a cohesive and spacious look.

Mirror Small Space Tip

Utilize Mirrors

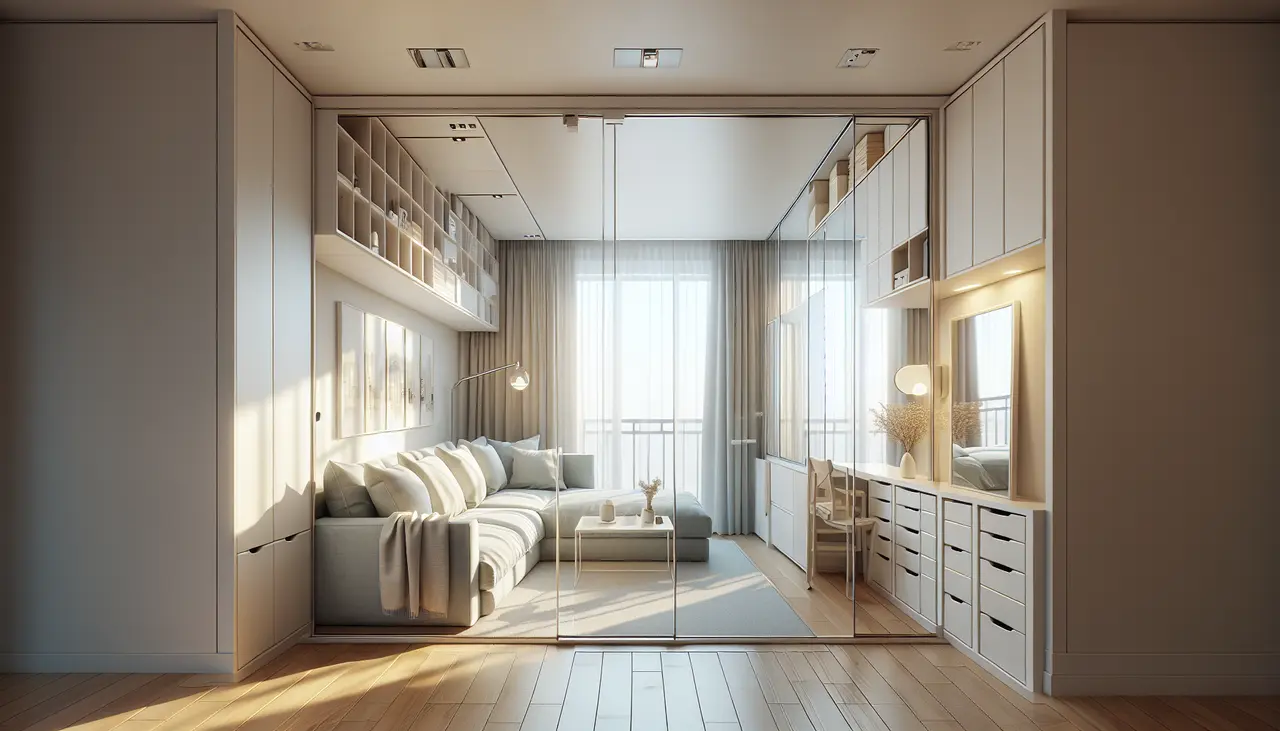
Mirrors are magical when it comes to creating the illusion of space. Hang a large mirror on a wall opposite a window to reflect natural light and visually expand the room. You can also use mirrored furniture or decorative mirrors to add depth and create a sense of openness.

Small Space Interior Design Windows

Embrace Natural Light

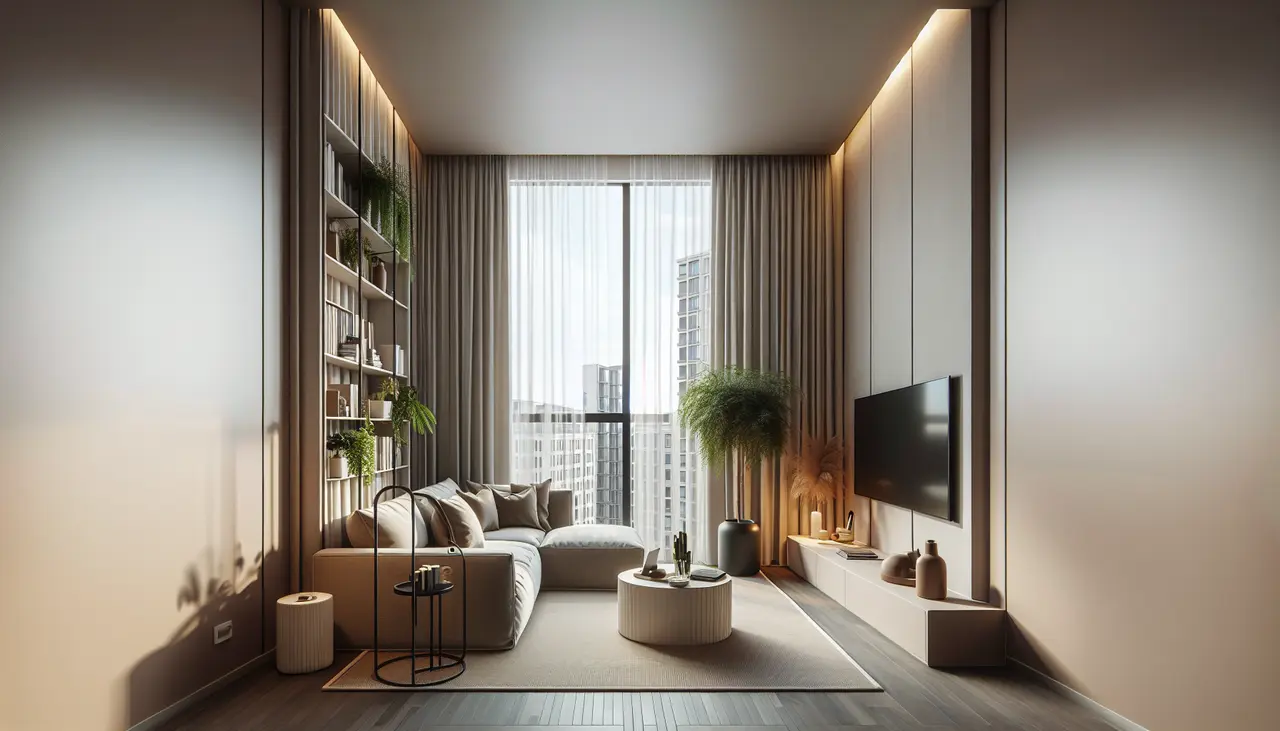
Natural light is your best friend when it comes to maximizing small spaces. Keep your windows uncovered or opt for sheer curtains to allow maximum light to enter the room. Avoid heavy drapes or dark shades that can block natural light and make the space feel cramped.

Small Space Strategic Furniture & Built In Placement

Strategic Furniture Placement

Carefully consider the size and placement of furniture in small rooms. Opt for multifunctional furniture pieces like a storage ottoman or a sofa with built-in drawers. Choose furniture with exposed legs to create a sense of openness. Avoid blocking pathways and ensure there is ample space for movement.

Small Space Interior Design

Clever Storage Solutions

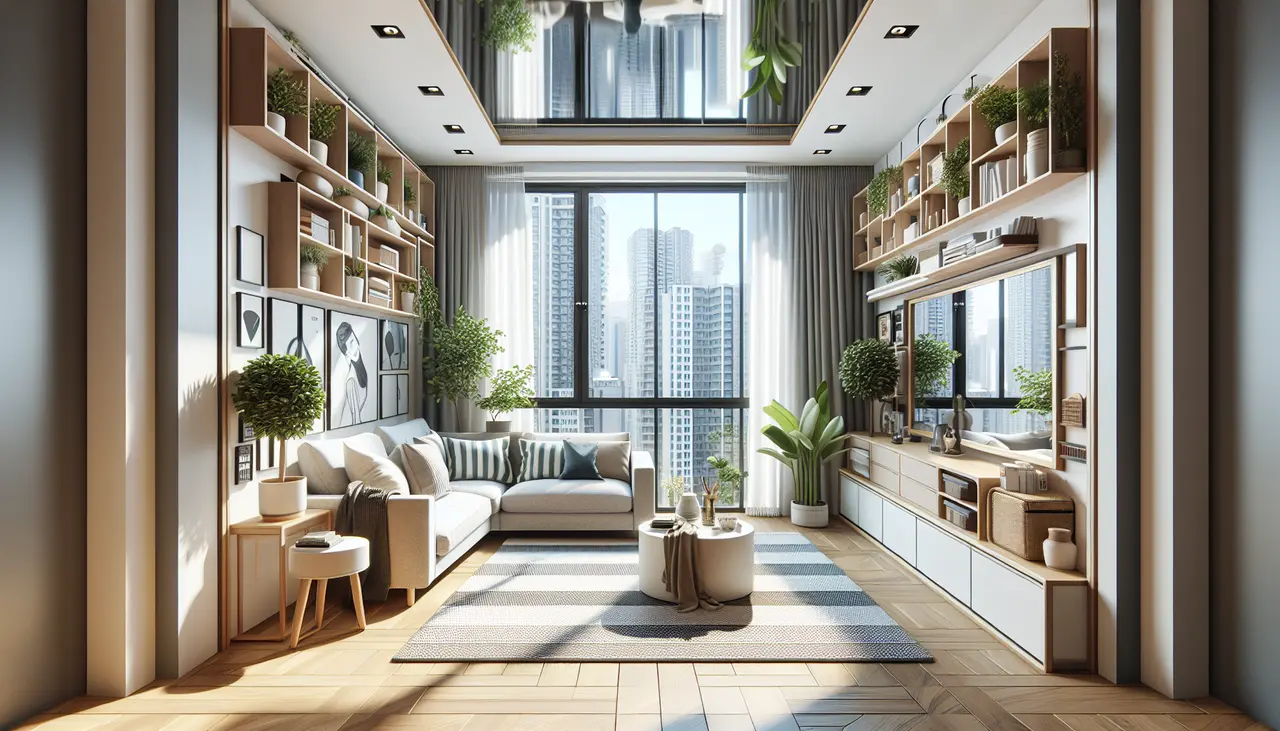
Clutter is the enemy of small spaces. To maintain an organized and spacious look, invest in clever storage solutions. Utilize vertical space with floating shelves or tall bookcases. Opt for furniture with hidden storage compartments. Use decorative baskets or bins to store items and keep surfaces clutter-free.

Small Space Tips

Utilize Wall Space

When floor space is limited, make the most of your walls. Install floating shelves or wall-mounted cabinets to store books, decorative items, or everyday essentials. Hanging plants or artwork can also draw the eye upward and give the illusion of higher ceilings.

Small Space Interior Design Visual Interest Storage

Create Visual Interest

Incorporate visual interest and focal points to distract from the small size of the room. Use a statement piece of artwork or a bold rug to draw attention. Incorporate textures and patterns to add depth to the space. By following these tips, you can create the illusion of a larger space and optimize the functionality of your small room.

Remember, maximizing small spaces is all about clever design techniques and strategic furniture placement. With these tips in mind, you can transform your small rooms into stylish and functional spaces that feel larger than they actually are. So go ahead, unlock the secrets to creating the illusion of space and enjoy your newly optimized small spaces!

Shop the Look

Ember Bronze Table Lamp

Ember Bronze Table Lamp
$1,389

Serene White Marble Bowl

Serene White Marble Bowl
$58

Antibes Side Table

Antibes Side Table
$1,376

2 Hour Interior Design Virtual or In Person Consultation

Something for Everyone

THE PIECES RACHEL RETURNS TO, AGAIN AND AGAIN

Fast Fashions Effect on Kitchens and Buildings

Fast Fashions Effect on Kitchens and Buildings

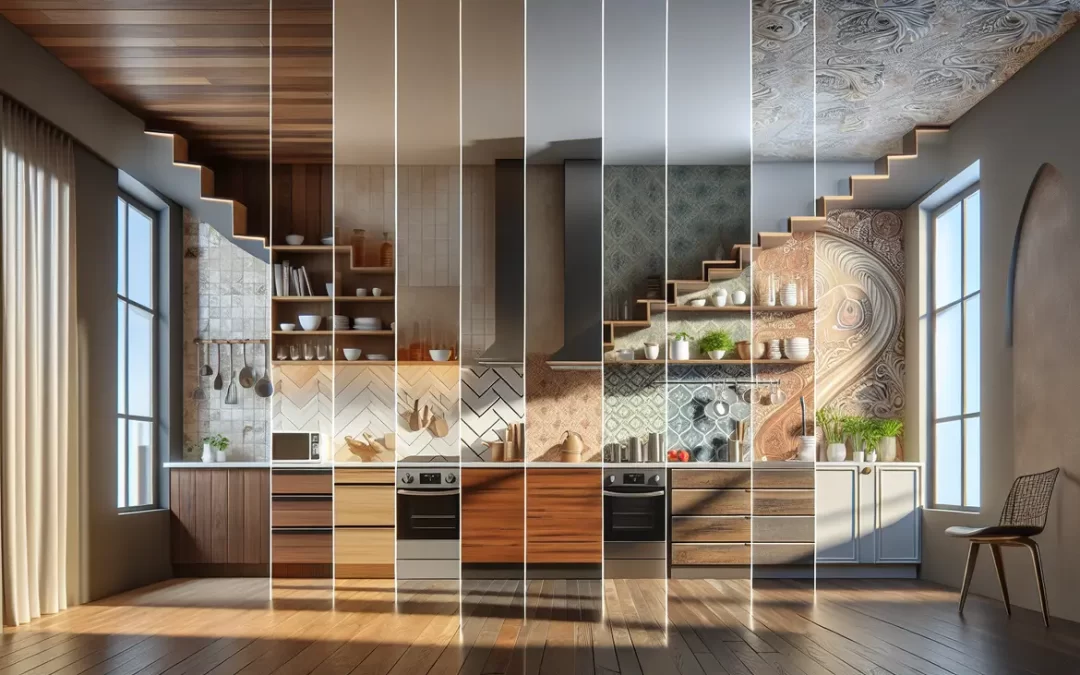
The world of interior design is constantly evolving, with new trends emerging and old ones fading away. In recent years, the pace of change has accelerated, leaving homeowners and design professionals struggling to keep up. Here we explore the phenomenon of accelerated trend cycles and its impact on the interior design industry, with a specific focus on kitchens and buildings.
The Rapid Evolution of Interior Design Trends- Impact on Kitchens and Buildings

The Need for Speed

Traditionally, beautifully finished apartments had a lifespan of around seven to ten years. However, Leonard Steinberg, a Compass broker, has noticed a concerning trend – new buildings are already looking outdated. This can be attributed to several factors, including the typical construction lag of design to built, shortened attention span for specific styles and colors, as well as the accessibility of design inspiration through TV shows and social media, and mass market knock offs. The desire for instant gratification clashes with the time-consuming process of creating enduring spaces.

The Impact on Kitchens

Kitchens have transformed from functional spaces to the centerpieces of modern homes. With the rise of open-concept using the kitchens as a focal point and the importance of social gatherings in the kitchen, new products coming out constantly that replicate marble and mass market companies adapting to trends as fast as possible and democratizing cost, design preferences for kitchens change rapidly. This makes kitchens more prone to becoming outdated quickly, leaving homeowners constantly seeking the next big trend.

Outdated Buildings and Kitchens

Several examples highlight the challenges of keeping up with shifting design preferences. The Jean Nouvel building at 53 West 53rd in NYC, completed in 2019, features beige, boxy accents and floating toilets fell out of style before the building was built according to potential buyers. Similarly, the Central Park Tower, built in 2020, has been criticized for its dark, masculine kitchens and baths. Many say these examples demonstrate how even new buildings can quickly lose their appeal. Yet I would venture to say well thought out design, with high end materials and finishes doesn’t.

The Acceleration of Trend Cycles

The pandemic has further accelerated the already fast-paced trend cycles. As people spent more time at home, their relationship with their living spaces deepened, leading to a heightened focus on every detail. The accessibility of design inspiration through TV shows and social media has created a surge in self-declared design experts. Additionally, the production turnarounds of retailers copying high-end trends have shortened, resembling the fast fashion industry.

The Implications

The rapid evolution of design trends has significant implications for both design enthusiasts and the environment. Homeowners may find themselves going from delight to exhaustion with certain trends in a matter of weeks. The expectation for high design to be fast puts pressure on homeowners and developers to constantly keep up with evolving trends. This constant pursuit of the latest trends contributes to waste as functional kitchens and interiors are discarded and replaced more frequently.
The interior design industry is experiencing an ever-changing landscape, with trends evolving at an unprecedented pace. Kitchens, in particular, are subject to rapid changes in style and trends, making them the most challenging space to keep up-to-date. The accessibility of design inspiration and the desire for instant gratification have propelled the acceleration of trend cycles. As trends continue to evolve, it is crucial for homeowners and design professionals to navigate these shifts and make design choices that stand the test of time. Good, well thought out design, high end materials and finishes are timeless and I would refer you to learn more about elevating your home value with ROI here https://rachelblindauer.com/elevate-your-homes-value/
Take the first step towards creating your dream space. Weather you are a couple with multiple homes looking for a decorator near you, a hotelier doing a redesign, or a developer looking for top-notch interior design services near you, Rachel Blindauer and her team are here to bring your vision to life. With our wealth of experience and expertise, we can create stunning and functional spaces that exceed your expectations and bring you to a new height of design and sophistication.

Shop the Look

Radnor Marble Cabinet Knob

Radnor Marble Cabinet Knob
From $54

Solaire Counter Stool & Bar Stool

Solaire Counter Stool & Bar Stool
From $1,385

Bellagio Twisted Brass Lantern Pendant

Bellagio Twisted Brass Lantern Pendant
$3,795

2 Hour Interior Design Virtual or In Person Consultation

Something For Everyone

THE PIECES RACHEL RETURNS TO, AGAIN AND AGAIN

Creating the Ultimate Indoor-Outdoor Kitchen

Creating the Ultimate Indoor-Outdoor Kitchen

By Rachel Blindauer | Updated for 2025

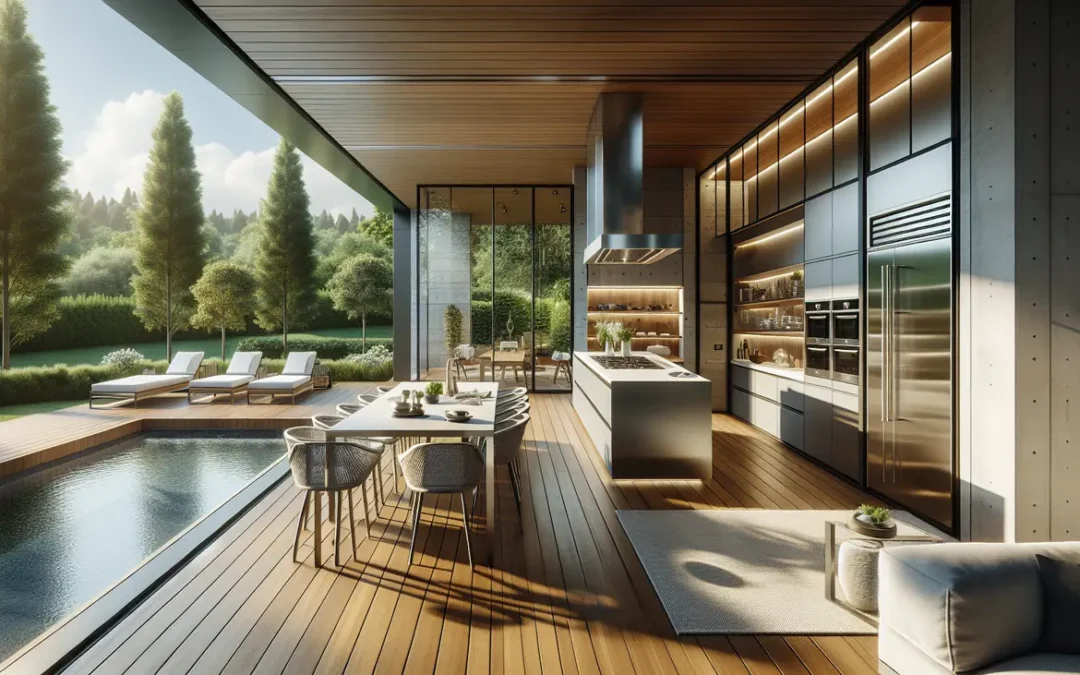
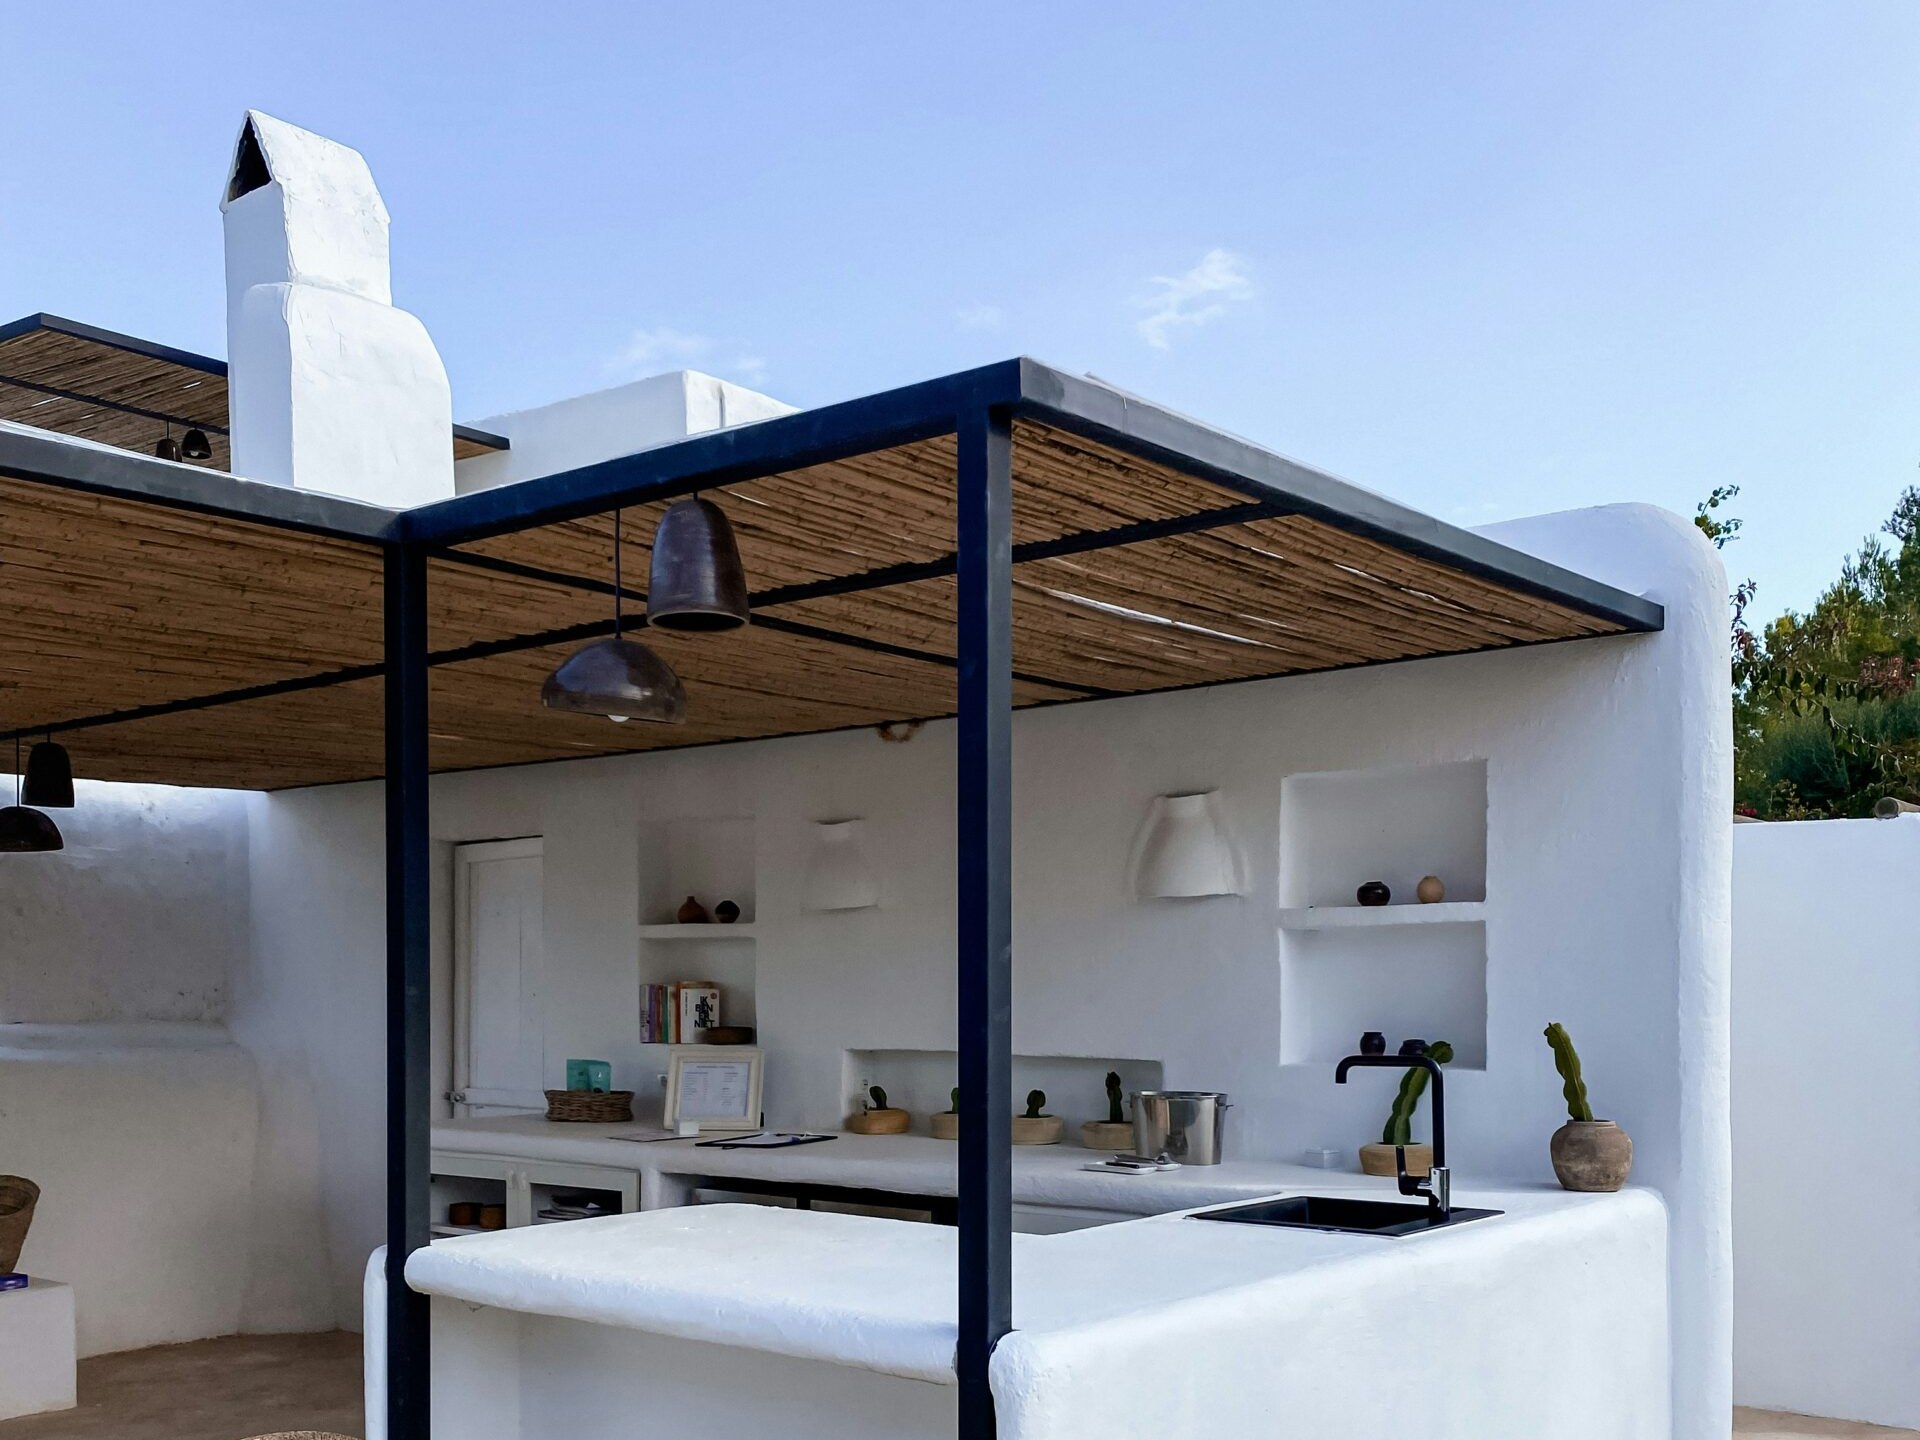
There’s something quietly radical about an outdoor kitchen done right. It’s not just about putting appliances under open skies—it’s about designing for rhythm, connection, and the sensory pleasures of cooking without ceilings.

Whether you’re a seasoned host or a dreamer with a sketchpad, designing your outdoor kitchen and bar area is a chance to soften the boundary between structure and nature. With the right mix of layout planning, material sensibility, and a few meaningful details, your backyard becomes more than functional—it becomes magnetic.

Creating the Ultimate Indoor-Outdoor Kitchen

Start With Flow, Not Fixtures

Assessing Space and Location

Before diving into cabinetry and countertops, take time to understand your landscape. Where does the light fall in the evenings? Is there shelter from wind or rain? Designing around your natural environment—not against it—sets the tone for everything to come.

Establish the Outdoor Work Triangle

Just like inside, outdoor kitchens benefit from the “work triangle”: the grill, prep area, and sink should form a smooth, intuitive layout. But here, it’s also about how guests move through the space. Where do they pause? Where do conversations spark?

Zoning: The Secret Ingredient

The most successful outdoor kitchens don’t function like standalone spaces—they flow. Use outdoor rugs, planters, or even varying flooring textures to define zones for cooking, dining, and lounging without closing off the space.

“Think of it not as a kitchen, but as a garden room—one with a soul, not just a sink.”

Functional Beauty: Essentials with Style

The Grill

This is your anchor. Choose a high-quality grill—gas, charcoal, or hybrid—that matches your cooking style. Look for smart add-ons like rotisseries or side burners that allow for full meals without retreating indoors.

The Countertops

Outdoor countertops should be durable, weather-resistant, and effortless to clean. Granite, when done with a honed or leathered finish, offers a beautiful, natural feel—especially when paired with teak, slate, or patinaed metals. Stainless steel remains a timeless option for modernists.

The Sink

A stainless steel or marine-grade sink isn’t just practical—it’s essential. It extends your prep zone, allows for easier cleanup, and subtly elevates the experience of cooking outdoors.

Styling Tips: Where Outdoor Design Finds Its Soul

Accessorize with Intention

The best outdoor accessories work hard and make it look effortless. I recommend:

  • Stone or concrete serving boards that double as sculptural decor

  • Smoky or amber glassware that catches the light beautifully

  • Rattan or teak trays for texture and mobility

  • Hurricane lanterns or pillar candles to create ambiance without overhead fixtures

“Accessories don’t just fill space—they shape the way it feels.”

You’ll find my go-to entertaining pieces at the Shop.

Outdoor Kitchen

Lighting: Let There Be Layers

A single floodlight won’t do. Blend ambient, task, and decorative lighting: think string lights over dining, a soft sconce by the prep area, and flickering candles on every table. The goal is to invite people to linger.

Greenery & Natural Materials

Mix wood with stone. Let plants climb. Design your outdoor kitchen like a space that’s grown there over time—collected, not staged. Consider herbs in terra cotta, potted citrus, or oversized ferns that blur the edge between kitchen and garden.

Comfort Meets Durability

Invest in weather-resistant seating with upholstered cushions that look as good as they feel. Consider soft layering—pillows, throws, or even a well-placed rug under the table—to bring the warmth of indoors outside.

Safety & Seasonal Care

Fire Safety

Ensure proper ventilation, maintain space around heat sources, and keep a fire extinguisher within easy reach. It’s not glamorous, but it’s essential.

Maintenance

Outdoor kitchens thrive on rhythm. Wipe down countertops. Clean the grill regularly. Store away accessories during heavy weather. Beauty and longevity go hand in hand.

Final Thought: Design That Breathes

An outdoor kitchen is more than a culinary station—it’s a declaration of how you want to live. Designing for the outdoors means loosening control, allowing materials to weather, and creating spaces where beauty isn’t just seen—it’s felt. And if you need help, I’m here for you.

“Designing outdoors isn’t about replicating the indoors—it’s about loosening the edges and letting your space exhale.”

Shop the Look

Calder Counter Stool

Calder Counter Stool
$1,185

Radnor Marble Cabinet Knob

Radnor Marble Cabinet Knob
From $54

Bellagio Twisted Brass Lantern Pendant

Bellagio Twisted Brass Lantern Pendant
$3,795

2 Hour Interior Design Virtual or In Person Consultation

SOMETHING FOR EVERYONE

THE PIECES RACHEL RETURNS TO, AGAIN AND AGAIN

Mastering Texture in Interior Design

Mastering Texture in Interior Design

The Art of Creating Spaces That Speak

Walk into a well-designed room, and you feel it before you even see it — the subtle layering of surfaces, the invitation to reach out and touch, the sense that the space is alive.
This is the unseen language of texture, and in interior design, it’s nothing short of transformative.

Color sets the mood. Furniture defines function.
But it’s texture that tells the story.

Mastering Texture in Interior Design

The Quiet Power of Texture

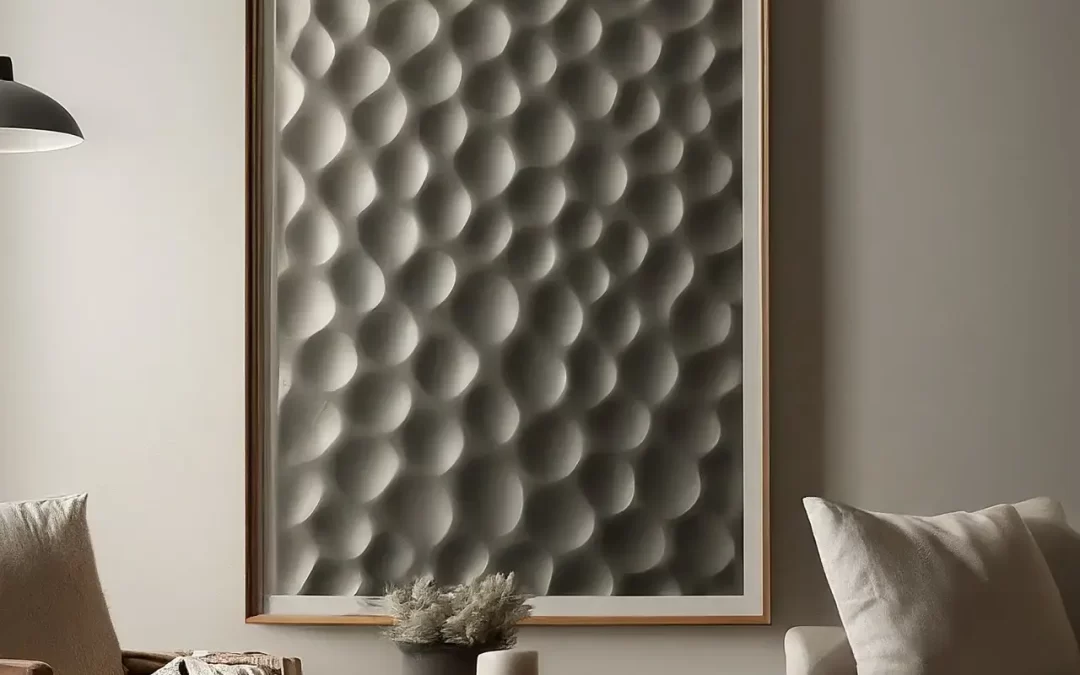
Texture is the element that brings depth, dimension, and soul to a room.
Without it, even the most beautifully styled interiors can fall flat — polished but curiously hollow.

Consider the quiet tension between smooth marble and nubby linen, the comfort of a velvet armchair against the rough honesty of reclaimed wood.
This interplay of contrasts doesn’t just please the eye — it engages the senses, creating an emotional connection to the space.

Great designers understand that texture is not merely a visual tool; it’s an experiential one.
It transforms rooms into environments, and houses into homes.

Curating Texture Room by Room

Each room carries its own emotional rhythm — and the textures you choose should honor that.

In bedrooms, soft, enveloping materials like silk, cashmere, and plush carpeting create an atmosphere of rest and retreat.
Think layered bedding, velvet headboards, and the comforting heft of a woven throw at the foot of the bed.

By contrast, kitchens and bathrooms thrive with clean, durable surfaces: honed stone countertops, ceramic tiles, brushed metals.
Here, texture balances beauty with the daily demands of living.

Living rooms, the gathering spaces of our homes, call for a curated symphony of both.
A tactile mix — supple leather, coarse knits, cool glass, natural wood — invites touch, conversation, and lingering.

The Art of Balancing Texture

True mastery lies not in simply adding textures, but in orchestrating them.

Start by establishing a base texture that grounds the room — perhaps the rich grain of oak flooring or the soft neutrality of a wool rug.
From there, introduce contrasts: a smooth ceramic lamp on a textured console, a linen sofa crowned with velvet cushions.

But remember — balance is delicate.
An overload of rugged materials can make a room feel hard-edged and restless.
Too many soft elements, and it risks becoming saccharine or shapeless.

Natural materials — wood, stone, cotton, greenery — offer a timeless antidote, bridging disparate textures with organic ease.

“Texture isn’t about chaos or excess,” says designer Rachel Blindauer.
“It’s about intentional variety. It’s about creating emotional depth that you can feel the moment you walk in.”

Texture Is Not a Detail — It’s a Foundation

The best-designed homes aren’t perfect — they’re alive.
Their walls carry the patina of real life. Their surfaces invite interaction. Their rooms breathe and evolve with the people who inhabit them.

Texture is what makes this possible.
It’s what transforms spaces from merely seen to truly felt.

Whether it’s the warmth of weathered wood under your fingertips, the crisp coolness of linen brushing your skin, or the unexpected delight of a hand-woven basket catching your eye — texture brings rooms into vivid, vibrant being.

In the end, mastering texture isn’t about following rules.
It’s about understanding how the surfaces around us shape the way we live — and using that knowledge to craft homes that are as richly layered as life itself.

Shop the Look

Serene White Marble Bowl

Serene White Marble Bowl
$82

Kensington Marble Short Drink Table, Green

Kensington Marble Short Drink Table, Green
$356

Palisade Beige Marble Catchall Tray

Palisade Beige Marble Catchall Tray
$105

2 Hour Interior Design Virtual or In Person Consultation

SOMETHING FOR EVERYONE

THE PIECES RACHEL RETURNS TO, AGAIN AND AGAIN

Designing a Room That Grows with Your Child: Practical Tips and Ideas

Designing a Room That Grows with Your Child: Practical Tips and Ideas

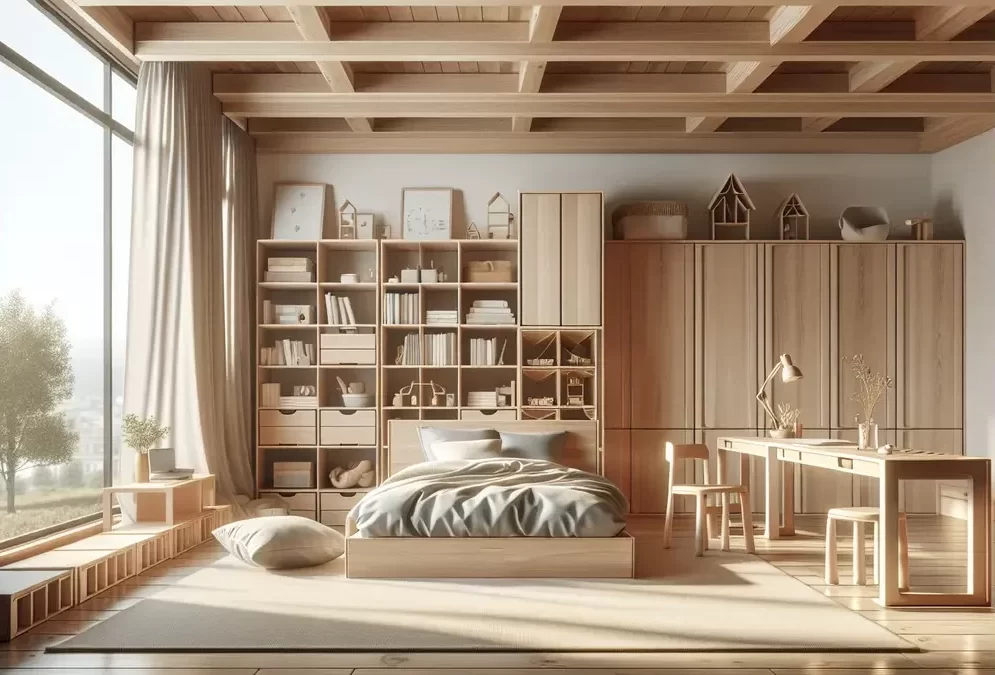
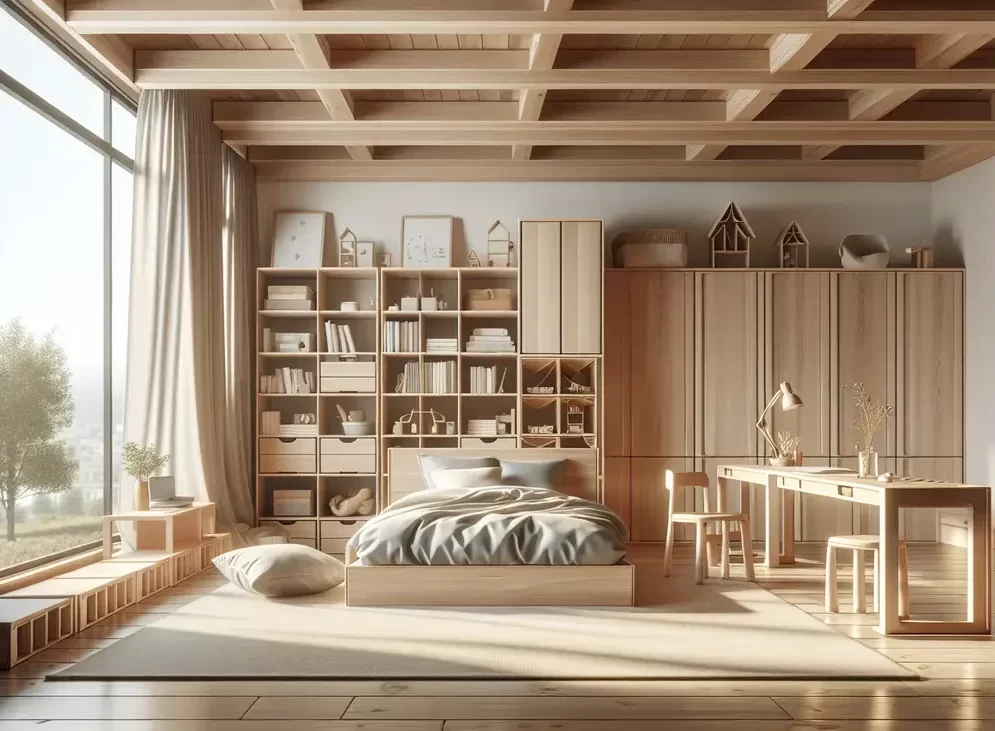
Bedroom That Can Grow With Your Child

As a parent, you want to provide a nurturing and adaptable space for your new baby, a room that can evolve with them as they reach different milestones in their development. The following are essential considerations, practical tips, and creative ideas to design a room that not only meets your baby’s immediate needs but also adapts seamlessly as they grow into toddlers, children, and beyond. Get ready to create a space that will support your child’s growth, foster their imagination, and provide a sanctuary for them to thrive in.

Choose a Neutral Backdrop for the Bedding and Art

Opt for a neutral color palette as the base for your baby’s room. Soft shades such as light gray, beige, or pastels create a calming environment and can easily transition as your child grows. Neutrals provide a timeless backdrop, allowing you to change the room’s art and bedding in the future without repainting.

Invest in Convertible Furniture

To maximize functionality and adaptability, invest in convertible furniture. A crib that can later transform into a toddler bed and eventually a twin-sized bed is an excellent long-term investment. Similarly, consider a changing table that converts into a dresser, saving both space and money as your child’s needs change.

Create Ample Storage Space

Children accumulate toys, books, and clothes as they grow. Ensure a clutter-free room by incorporating ample storage solutions. Opt for multi-purpose furniture like storage ottomans or benches that provide both seating and hidden storage. Install open shelves to display books and toys, making them easily accessible for your child as they grow older.

Designing a Room That Grows with Your Child: Practical Tips and Ideas

Designate Zones for Learning and Play

As your child grows, they’ll require dedicated areas for learning and play. Designate a cozy reading nook with a comfortable chair, bookshelf, and soft lighting to encourage a love for books. Set up a play corner with a playmat, storage bins, and a small table for creative activities. These defined spaces foster independence and allow your child to engage in various activities within their room.

Incorporate Adjustable Lighting

Lighting plays a crucial role in creating a soothing atmosphere. Install adjustable lighting options such as dimmer switches or lamps with varying levels of brightness. This allows you to adapt the lighting to your child’s needs as they transition from a nursery to a toddler or school-age room.

Consider Safety and Accessibility

To ensure your child’s safety, design the room with their needs in mind. Anchor furniture to the wall to prevent tip-overs and select child-proof hardware. Install window guards or cordless blinds for window safety. Keep electrical outlets covered and ensure that any rugs or mats are securely fastened to the floor. Regularly check the room for potential hazards as your child grows.

Designing a room for your new baby that grows with them is a thoughtful and exciting process. By considering their changing needs and preferences at different stages of development, you can create a space that will adapt and evolve with them. From choosing versatile furniture and incorporating ample storage solutions to creating play and learning areas, every element of the room should be carefully planned to support your child’s growth and development. Remember to prioritize safety and involve your child in the design process to make the room feel personal and special to them. With a well-designed and adaptable room, you can create a nurturing environment that will foster your child’s creativity, independence, and overall well-being as they journey through childhood. Enjoy the process of designing a room that will grow alongside your child, and watch as it becomes a cherished space filled with memories and love.


References:

How to Set Up a Beautiful Montessori Bedroom https://montessori-academy.com/blog/montessori-bedroom/

Ages & Stages – Infancy (https://www.choc.org/primary-care/ages-stages/)
Basics of Child Development (https://www.psychologytoday.com/us/basics/child-development)


2 Hour Interior Design Virtual or In Person Consultation

SOMETHING FOR EVERYONE

THE PIECES RACHEL RETURNS TO, AGAIN AND AGAIN